
WARNING: I’ve received a comment that new plugs from bunnings are incompatible. Tuya has updated the firmware. Buy a different unit. – Thanks deadpan_pedant
https://github.com/ct-Open-Source/tuya-convert/issues/746
Comment is on this article but I would assume it applies to all these models: https://jaytuckey.name/2020/03/27/how-to-flash-tasmota-using-tuya-convert-onto-a-arlec-smart-plug-pc190ha-from-bunnings/
Here are my notes from the process of flashing this smart plug using Tuya-Convert – https://github.com/ct-Open-Source/tuya-convert
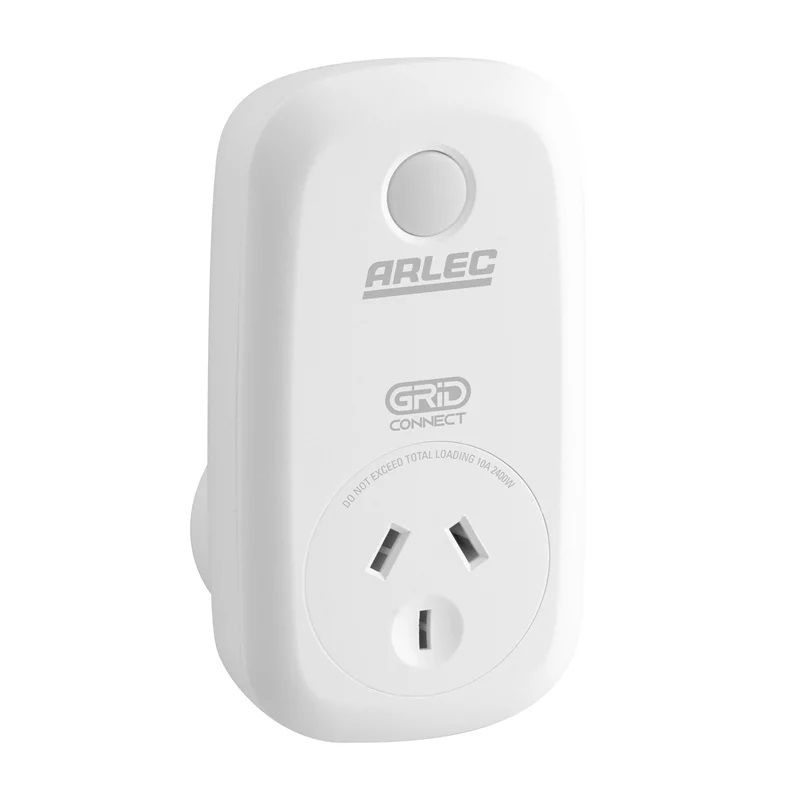
This is the plug: https://www.bunnings.com.au/arlec-smart-plug-in-socket-with-grid-connect_p0135440
These are my notes:
Arlec Model: PC190HA
Smart Plug-in Socket with Grid Connect
Running on Ubuntu 20.04
Steps:
- Clone tuya-convert repo
- run ./install_prereq.sh
- edited the config.txt and set:
- WLAN=wlp3s0
- rebooted for a clean environment
- run ./start_flash.sh
- Connected phone to ‘vtrust-flash’ when prompted
- plugged in arlec smart plug
- Held button for 5s to make it start flashing rapidly
- Hit enter at the tuya-convert prompt
- Waited for the existing firmware to back up
- Hit 2) flash tasmota.bin
- Hit y to confirm
- Flash complete, can now see the tasmota-xxxx wifi AP
Finally, when you are configuring it, you will need the template from here: https://templates.blakadder.com/arlec_PC190HA.html
Template I used:
{"NAME":"Arlec-PC190HA","GPIO":[0,0,0,0,0,0,0,0,21,56,17,0,0],"FLAG":0,"BASE":18}
7 replies on “How to Flash Tasmota using Tuya-Convert onto a Arlec Smart Plug PC190HA from Bunnings”
When you say you using Ubuntu 20.04 is this on a virtual machine like virtualbox on a Microsoft laptop/pc?
I keep getting to same point with with access points and not too sure why I need a wifi adapter when my computer already has one.
Any chance of making a video to watch to follow along from absolute beginning to end. So setting up Ubuntu with all correct setting and stuff before flashing tasmota?
Hi Shane,
I use Ubuntu 20.04 directly on a laptop – I think it originally ran Windows 7.
I don’t think it would work in a virtual machine, as Tuya-Convert creates a Wifi Hotspot with the wireless interface to flash the device, and I don’t think this would work from a VM.
I don’t have any more devices that aren’t flashed already, so I’m not able to make a tutorial video at the moment. If I end up getting a new one I’ll make a video.
Have a look at this video from ” The Hook Up” perhaps: https://www.youtube.com/watch?v=q4HrpSORcXA
He makes pretty good content.
-Jay
HI there!
I’m currently attempting to flash one of these myself. Can you explain the significance of the ‘WLAN=wlp3s0’ line? I’m using Raspbian Lite to run Tuya-Convert and don’t have that option.
In any event, would appreciate any insight that you have into getting these flashed!
Cheers,
K
Hi Kita,
Tuya-Convert creates a Wifi Hotspot with the wireless interface to flash the device, so you need to tell it which interface is your wireless one.
‘wlp3s0’ is what Ubuntu set my laptop’s wireless interface name to. Yours might be different – try running the command ‘ip link’ – you should get something like this:
root@tvpi #~> ip link mtu 65536 qdisc noqueue state UNKNOWN mode DEFAULT group default qlen 1000 mtu 1500 qdisc pfifo_fast state DOWN mode DEFAULT group default qlen 1000 mtu 1500 qdisc pfifo_fast state UP mode DORMANT group default qlen 1000
1: lo:
link/loopback 00:00:00:00:00:00 brd 00:00:00:00:00:00
2: eth0:
link/ether b8:27:eb:87:b3:bb brd ff:ff:ff:ff:ff:ff
3: wlan0:
link/ether b8:27:eb:d2:e6:ee brd ff:ff:ff:ff:ff:ff
In this example my Pi3 has named the wireless interface ‘wlan0’ so I would use the line:
WLAN=wlan0
Does this help explain it?
-Jay
WARNING: New plugs from bunnings are incompatible. Tuya has updated the firmware.
Buy a different unit.
https://github.com/ct-Open-Source/tuya-convert/issues/746
Thanks deadpan_pedant – I’ve updated the top of this article and the other one on the powerboard with the warning.
Hi Jay, thanks for the article
I’ve had success flashing the one with usb version (and slightly cheaper)
Arlec Grid Connect Smart Plug In Socket With 2.1A USB Charger
https://www.bunnings.com.au/arlec-grid-connect-smart-plug-in-socket-with-2-1a-usb-charger_p0135441
The tasmota config template is found here.
https://templates.blakadder.com/arlec_PC389HA.html